m (→Rewards) |
No edit summary |
||
| (35 intermediate revisions by 17 users not shown) | |||
| Line 1: | Line 1: | ||
[[File:Stonebite.jpg|thumb|200px|A Mystic Stonebite in the Ivory Citadel]] |
[[File:Stonebite.jpg|thumb|200px|A Mystic Stonebite in the Ivory Citadel]] |
||
| − | ''' |
+ | '''{{PAGENAME}}''' is a [[:Category:Side Quests|side quest]] in [[Darksiders II]] that spans much of the game. It is given, along with the ''Lure Stone'' ability, by the construct [[Blackroot]] in the Fjord area of the [[Forge Lands]]. This quest will task [[Death]] with obtaining '''Stonebites''' to feed Blackroot. These diamond-shaped stones found throughout the realms are acquired by destroying them (usually by shooting them with [[Redemption]]), and can be located via the high pitched "glowing" sound that emanates from them. These magical stones can then be returned to Blackroot in any combination of three in exchange for permanent bonuses to Death's stats. |
There are three varieties of ''Stonebites'': |
There are three varieties of ''Stonebites'': |
||
| + | {|class="wikitable sortable" style="width:30%;" |
||
| − | |||
| + | !style="background: #555; width: 15%;" |Type |
||
| ⚫ | |||
| + | !style="background: #555; width: 10%;" |Color |
||
| − | |||
| + | !style="background: #555; width: 10%;" |Number |
||
| ⚫ | |||
| ⚫ | |||
| − | |||
| ⚫ | |||
| ⚫ | |||
| ⚫ | |||
| − | |||
| ⚫ | |||
| ⚫ | |||
| ⚫ | |||
| ⚫ | |||
Note that all Stonebites appear to be blue, however they do have a faint aura of blue, red, or yellow depending on their type. |
Note that all Stonebites appear to be blue, however they do have a faint aura of blue, red, or yellow depending on their type. |
||
==Locations== |
==Locations== |
||
{|class="wikitable sortable" style="width:100%;" |
{|class="wikitable sortable" style="width:100%;" |
||
!style="background: #555; width: 15%;" |Type |
!style="background: #555; width: 15%;" |Type |
||
| − | |||
!style="background: #555; width: 25%;" |Realm |
!style="background: #555; width: 25%;" |Realm |
||
| − | |||
!style="background: #555; width: 20%;" |Zone |
!style="background: #555; width: 20%;" |Zone |
||
| + | !style="background: #555; width: auto;" | |
||
| − | + | Description |
|
|- |
|- |
||
|Mystic |
|Mystic |
||
| Line 34: | Line 37: | ||
|The Forge Lands |
|The Forge Lands |
||
|Stonefather's Vale |
|Stonefather's Vale |
||
| − | |Northeastern corner. |
+ | |Northeastern corner leading to a dead-end. In the area with the first Book of the Dead page. |
|- |
|- |
||
|Mystic |
|Mystic |
||
|The Forge Lands |
|The Forge Lands |
||
|Tri-Stone |
|Tri-Stone |
||
| − | |Maker's Forge, on the backside of the forge |
+ | |Maker's Forge, on the backside of the forge chimney. |
|- |
|- |
||
|Mystic |
|Mystic |
||
| Line 50: | Line 53: | ||
|Baneswood |
|Baneswood |
||
|On north wall of area in a small nook, on cliff face. |
|On north wall of area in a small nook, on cliff face. |
||
| ⚫ | |||
| + | |Mystic |
||
| + | |The Forge Lands |
||
| + | |Baneswood |
||
| + | |In a ruin at the start of the path into The Charred Pass |
||
|- |
|- |
||
|Mystic |
|Mystic |
||
| Line 99: | Line 107: | ||
|The Kingdom of the Dead |
|The Kingdom of the Dead |
||
|The Gilded Arena |
|The Gilded Arena |
||
| + | |When first entering the arena, the stone is visible on the statue in the right side alcove. |
||
| ⚫ | |||
|- |
|- |
||
|Mystic |
|Mystic |
||
|The Kingdom of the Dead |
|The Kingdom of the Dead |
||
|The Gilded Arena |
|The Gilded Arena |
||
| + | |In the area with the first Animus stone. It is located on one of the hanging cages in the distance. |
||
| ⚫ | |||
|- |
|- |
||
|Mystic |
|Mystic |
||
|The Kingdom of the Dead |
|The Kingdom of the Dead |
||
|The Gilded Arena |
|The Gilded Arena |
||
| + | |Through the grate on the ceiling of the rectangular room on level B2. |
||
| ⚫ | |||
|- |
|- |
||
|Mystic |
|Mystic |
||
|The Kingdom of the Dead |
|The Kingdom of the Dead |
||
|The Maw |
|The Maw |
||
| + | |Bottom section of Maw, in outside window of building as you head to the Spine and City of the Dead. |
||
| ⚫ | |||
|- |
|- |
||
|Mystic |
|Mystic |
||
|The Kingdom of the Dead |
|The Kingdom of the Dead |
||
|Phariseer's Tomb |
|Phariseer's Tomb |
||
| + | |In the stone arch next to the crystal elevator, past the pressure plate puzzle. |
||
| − | | |
||
|- |
|- |
||
|Mystic |
|Mystic |
||
|The Kingdom of the Dead |
|The Kingdom of the Dead |
||
|Judicator's Tomb |
|Judicator's Tomb |
||
| + | |In the area with the final soul. It is located up high in one of the alcoves. |
||
| − | | |
||
|- |
|- |
||
|Mystic |
|Mystic |
||
|The Kingdom of the Dead |
|The Kingdom of the Dead |
||
|Psychameron |
|Psychameron |
||
| + | |After defeating some mini-bosses, including a Bone Giant, you will push a lever and unlock a door/raise a bridge. After going through this door (which leads to the southern passage), you will reach a wooden bridge. Turn around: the crystal is above the doorway. |
||
| − | |Above the 1st doorway down the south passage of the dungeon. |
||
|- |
|- |
||
|Mystic |
|Mystic |
||
|The Kingdom of the Dead |
|The Kingdom of the Dead |
||
|Boneriven |
|Boneriven |
||
| + | |Located on the 2nd floor on a thin rock face above a set of pressure plates. |
||
| − | |under stone sliver inside bend in nw |
||
|- |
|- |
||
|Mystic |
|Mystic |
||
| Line 143: | Line 151: | ||
|Mystic |
|Mystic |
||
|Lostlight |
|Lostlight |
||
| + | |Earth |
||
| − | | |
||
|Outside the Death Tomb |
|Outside the Death Tomb |
||
|- |
|- |
||
| Line 149: | Line 157: | ||
|Lostlight |
|Lostlight |
||
|The Crystal Spire |
|The Crystal Spire |
||
| − | |On the sword of the large angel statue |
+ | |On the sword of the large angel statue (entrance) |
|- |
|- |
||
|Mystic |
|Mystic |
||
|Lostlight |
|Lostlight |
||
|The Crystal Spire |
|The Crystal Spire |
||
| − | |On the sword of the other large angel statue |
+ | |On the sword of the other large angel statue (entrance) |
|- |
|- |
||
|Mystic |
|Mystic |
||
|Lostlight |
|Lostlight |
||
|Earth |
|Earth |
||
| + | |First area, near the chain hanging from a building corner |
||
| − | | |
||
|- |
|- |
||
|Mystic |
|Mystic |
||
|Lostlight |
|Lostlight |
||
|Earth |
|Earth |
||
| + | |On the ceiling, just before finding the Staff of Arafel's first piece. |
||
| − | | |
||
|- |
|- |
||
|Mystic |
|Mystic |
||
|Lostlight |
|Lostlight |
||
|Earth |
|Earth |
||
| + | |Just after finding the grenade launcher |
||
| − | | |
||
|- |
|- |
||
|Mystic |
|Mystic |
||
|Lostlight |
|Lostlight |
||
|Earth |
|Earth |
||
| + | |F1 on the large bridge, after killing the two Suffering, turn around. It is located on the northern side of a bridge pillar. |
||
| − | | |
||
|- |
|- |
||
|Mystic |
|Mystic |
||
|Lostlight |
|Lostlight |
||
|The Ivory Citadel |
|The Ivory Citadel |
||
| + | |2nd floor, south east tiny cut off area. Use wall run to get there. It's vis-à-vis from the chest. |
||
| − | | |
||
|- |
|- |
||
|Mystic |
|Mystic |
||
|Lostlight |
|Lostlight |
||
|The Ivory Citadel |
|The Ivory Citadel |
||
| + | |F1 eastern tower after being swarmed by wraith skulls. On an arc above. |
||
| − | | |
||
| ⚫ | |||
| ⚫ | |||
| + | |The Forge Lands |
||
| + | |Charred Pass |
||
| + | |On inside of Large broken pipe in front of The Scar front door. |
||
|- |
|- |
||
|Power |
|Power |
||
| Line 214: | Line 227: | ||
|The Kingdom of the Dead |
|The Kingdom of the Dead |
||
|The Maw |
|The Maw |
||
| + | |At the bridge intersection in the Maw, go west. Continue as far west as you can, curving north and dropping down into a ruin. Go into the ruin, look at the portal on the west wall, and from there look up and left. |
||
| − | | |
||
|- |
|- |
||
|Power |
|Power |
||
|The Kingdom of the Dead |
|The Kingdom of the Dead |
||
|The Gilded Arena |
|The Gilded Arena |
||
| + | |After getting the first Stone, you will exit east through a narrow passage. The stone is being clasped by a skeleton hanging from a grate in the ceiling. |
||
| − | | |
||
|- |
|- |
||
|Power |
|Power |
||
|The Kingdom of the Dead |
|The Kingdom of the Dead |
||
|Phariseer's Tomb |
|Phariseer's Tomb |
||
| + | |On the face of the tall statue on the 3rd floor. |
||
| − | | |
||
|- |
|- |
||
|Power |
|Power |
||
|The Kingdom of the Dead |
|The Kingdom of the Dead |
||
|The Spine |
|The Spine |
||
| + | |On the east outer wall of the gatehouse between the Maw and the Spine. Climb the gatehouse exterior and look around next to the chest. |
||
| − | | |
||
|- |
|- |
||
|Power |
|Power |
||
|The Kingdom of the Dead |
|The Kingdom of the Dead |
||
|The Spine |
|The Spine |
||
| + | |Top of tower to the east of Judicator's Tomb |
||
| − | | |
||
|- |
|- |
||
|Power |
|Power |
||
|The Kingdom of the Dead |
|The Kingdom of the Dead |
||
|Judicator's Tomb |
|Judicator's Tomb |
||
| + | |3rd large room from enterance. On the bottom of hanging cage. |
||
| − | | |
||
|- |
|- |
||
|Power |
|Power |
||
|The Kingdom of the Dead |
|The Kingdom of the Dead |
||
|Sentinel's Gaze |
|Sentinel's Gaze |
||
| − | |head of statue on top of center building |
+ | |On the back of the head of statue on top of center building. |
|- |
|- |
||
|Power |
|Power |
||
|The Kingdom of the Dead |
|The Kingdom of the Dead |
||
|The City of the Dead |
|The City of the Dead |
||
| + | |In the area with a chest and two Wraiths. It is visible on the wall to the right of the chest. |
||
| − | | |
||
|- |
|- |
||
|Power |
|Power |
||
| Line 259: | Line 272: | ||
|Lostlight |
|Lostlight |
||
|The Crystal Spire |
|The Crystal Spire |
||
| + | |Upstairs, on the statue near the bomb |
||
| − | | |
||
|- |
|- |
||
|Power |
|Power |
||
|Lostlight |
|Lostlight |
||
|Earth |
|Earth |
||
| + | |After completing the staff, in the building |
||
| − | | |
||
|- |
|- |
||
|Power |
|Power |
||
|Lostlight |
|Lostlight |
||
|Earth |
|Earth |
||
| + | |F1 in the tunnels on the wall above the chest in the southern most area |
||
| − | | |
||
|- |
|- |
||
|Power |
|Power |
||
|Lostlight |
|Lostlight |
||
|The Ivory Citadel |
|The Ivory Citadel |
||
| + | |2nd floor in the northern area. At the second crank, look across to a rock face. |
||
| − | | |
||
|- |
|- |
||
|Power |
|Power |
||
| Line 289: | Line 302: | ||
|Shadow's Edge |
|Shadow's Edge |
||
|The Black Stone (present) |
|The Black Stone (present) |
||
| − | | |
+ | |On the left of the keyed door in the western area |
|- |
|- |
||
|Power |
|Power |
||
|Shadow's Edge |
|Shadow's Edge |
||
|The Black Stone (past) |
|The Black Stone (past) |
||
| − | | |
+ | |On the stomach of the many armed statue (Lilith) at end of main room |
| ⚫ | |||
| ⚫ | |||
| − | |Shadow's Edge |
||
| − | |The Black Stone (present) |
||
| − | | |
||
|- |
|- |
||
|Power |
|Power |
||
| Line 324: | Line 332: | ||
|The Kingdom of the Dead |
|The Kingdom of the Dead |
||
|The Breach |
|The Breach |
||
| + | |On the 2nd floor, on the rock face north of the chest. Requires the player to turn the lantern statue atop the building opposite the entrance to Sentinel's Gaze. |
||
| − | | |
||
|- |
|- |
||
|Resistance |
|Resistance |
||
| Line 339: | Line 347: | ||
|The Kingdom of the Dead |
|The Kingdom of the Dead |
||
|The City of the Dead |
|The City of the Dead |
||
| − | | |
+ | |After time rush climb,on 3F, exit the room, There are flying creatures in the sky. The stone is in the window of a tilted tower. on the right |
|- |
|- |
||
|Resistance |
|Resistance |
||
|Lostlight |
|Lostlight |
||
|Earth |
|Earth |
||
| + | |Before falling into pit for first Noss encounter, look to right and it's on the wall |
||
| − | | |
||
|- |
|- |
||
|Resistance |
|Resistance |
||
|Lostlight |
|Lostlight |
||
|The Ivory Citadel |
|The Ivory Citadel |
||
| + | |Western Tower inside, 3rd Floor on the northern side |
||
| − | | |
||
|- |
|- |
||
|Resistance |
|Resistance |
||
|Lostlight |
|Lostlight |
||
|The Ivory Citadel |
|The Ivory Citadel |
||
| + | |In the central area, only accessible when casting a portal in the ceiling. In a tiny room with a chest. |
||
| − | | |
||
|- |
|- |
||
|Resistance |
|Resistance |
||
|Shadow's Edge |
|Shadow's Edge |
||
|The Black Stone (past) |
|The Black Stone (past) |
||
| + | |In the room before the one where you can find the [[Demonflame Renders]], on the ceiling |
||
| − | | |
||
|} |
|} |
||
| Line 367: | Line 375: | ||
{|class="wikitable sortable" style="width:100%;" |
{|class="wikitable sortable" style="width:100%;" |
||
!style="background: #555; width: 15%;" |Stone 1 |
!style="background: #555; width: 15%;" |Stone 1 |
||
| − | |||
!style="background: #555; width: 15%;"|Stone 2 |
!style="background: #555; width: 15%;"|Stone 2 |
||
| − | |||
!style="background: #555; width: 15%;"|Stone 3 |
!style="background: #555; width: 15%;"|Stone 3 |
||
| − | |||
!style="background: #555; width: auto;"|Reward |
!style="background: #555; width: auto;"|Reward |
||
|- |
|- |
||
Latest revision as of 19:16, 8 April 2020
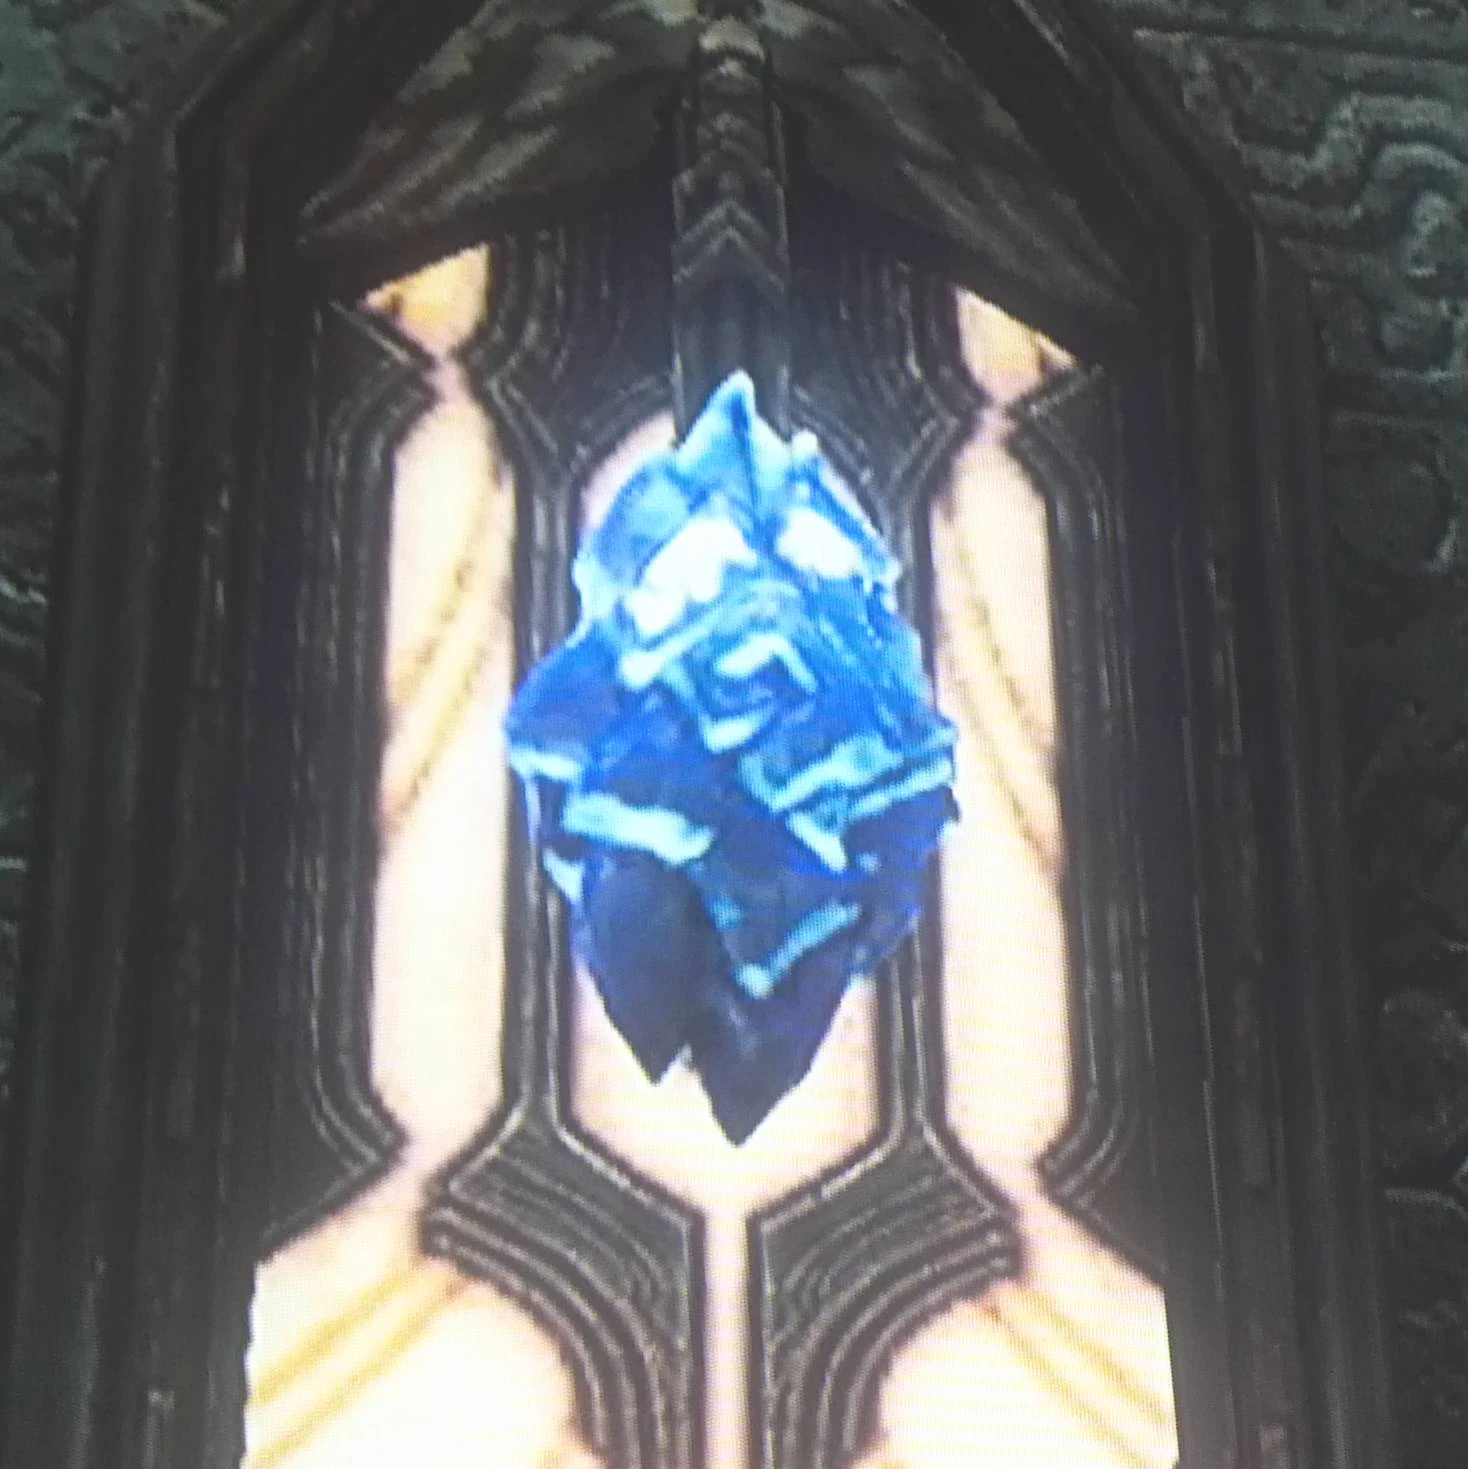
A Mystic Stonebite in the Ivory Citadel
Sticks and Stones is a side quest in Darksiders II that spans much of the game. It is given, along with the Lure Stone ability, by the construct Blackroot in the Fjord area of the Forge Lands. This quest will task Death with obtaining Stonebites to feed Blackroot. These diamond-shaped stones found throughout the realms are acquired by destroying them (usually by shooting them with Redemption), and can be located via the high pitched "glowing" sound that emanates from them. These magical stones can then be returned to Blackroot in any combination of three in exchange for permanent bonuses to Death's stats.
There are three varieties of Stonebites:
| Type | Color | Number |
|---|---|---|
| Mystic | Blue | 34 |
| Power | Red | 25 |
| Resistance | Yellow | 10 |
Note that all Stonebites appear to be blue, however they do have a faint aura of blue, red, or yellow depending on their type.
Locations[]
| Type | Realm | Zone |
Description |
|---|---|---|---|
| Mystic | The Forge Lands | The Fjord | South of Blackroot on a cliff face. |
| Mystic | The Forge Lands | Shadow Gorge | Entrance to The Shattered Forge. Northeastern cliff face. |
| Mystic | The Forge Lands | Stonefather's Vale | Northeastern corner leading to a dead-end. In the area with the first Book of the Dead page. |
| Mystic | The Forge Lands | Tri-Stone | Maker's Forge, on the backside of the forge chimney. |
| Mystic | The Forge Lands | Baneswood | In small ruin in the NW corner of area. |
| Mystic | The Forge Lands | Baneswood | On north wall of area in a small nook, on cliff face. |
| Mystic | The Forge Lands | Baneswood | In a ruin at the start of the path into The Charred Pass |
| Mystic | The Forge Lands | Weeping Crag | On archway near Vulgrim. |
| Mystic | The Forge Lands | Charred Pass | Above entrance to the Scar. |
| Mystic | The Forge Lands | Charred Pass | In side room of tiny ruins near entrance to The Cauldron. |
| Mystic | The Forge Lands | Charred Pass | In tiny ruins on eastern side of path, NE end of area. |
| Mystic | The Forge Lands | The Fjord | On wall of curved tunnel at entrance to Drenchfort |
| Mystic | The Forge Lands | The Drenchfort | Above tunnel under south-central door, large room with construct. |
| Mystic | The Forge Lands | The Lost Temple | 1F, on side of hole in floor, S side of first large room. |
| Mystic | The Forge Lands | The Nook | B1, above northen elevator in exit from Bheithir 's Lair. |
| Mystic | The Kingdom of the Dead | Serpent's Peak | On the very beginning of the road, on the way to Vulgrim's shop. |
| Mystic | The Kingdom of the Dead | The Gilded Arena | When first entering the arena, the stone is visible on the statue in the right side alcove. |
| Mystic | The Kingdom of the Dead | The Gilded Arena | In the area with the first Animus stone. It is located on one of the hanging cages in the distance. |
| Mystic | The Kingdom of the Dead | The Gilded Arena | Through the grate on the ceiling of the rectangular room on level B2. |
| Mystic | The Kingdom of the Dead | The Maw | Bottom section of Maw, in outside window of building as you head to the Spine and City of the Dead. |
| Mystic | The Kingdom of the Dead | Phariseer's Tomb | In the stone arch next to the crystal elevator, past the pressure plate puzzle. |
| Mystic | The Kingdom of the Dead | Judicator's Tomb | In the area with the final soul. It is located up high in one of the alcoves. |
| Mystic | The Kingdom of the Dead | Psychameron | After defeating some mini-bosses, including a Bone Giant, you will push a lever and unlock a door/raise a bridge. After going through this door (which leads to the southern passage), you will reach a wooden bridge. Turn around: the crystal is above the doorway. |
| Mystic | The Kingdom of the Dead | Boneriven | Located on the 2nd floor on a thin rock face above a set of pressure plates. |
| Mystic | The Kingdom of the Dead | Soul Arbiter's Maze | Between floor 7 and 8. |
| Mystic | Lostlight | Earth | Outside the Death Tomb |
| Mystic | Lostlight | The Crystal Spire | On the sword of the large angel statue (entrance) |
| Mystic | Lostlight | The Crystal Spire | On the sword of the other large angel statue (entrance) |
| Mystic | Lostlight | Earth | First area, near the chain hanging from a building corner |
| Mystic | Lostlight | Earth | On the ceiling, just before finding the Staff of Arafel's first piece. |
| Mystic | Lostlight | Earth | Just after finding the grenade launcher |
| Mystic | Lostlight | Earth | F1 on the large bridge, after killing the two Suffering, turn around. It is located on the northern side of a bridge pillar. |
| Mystic | Lostlight | The Ivory Citadel | 2nd floor, south east tiny cut off area. Use wall run to get there. It's vis-à-vis from the chest. |
| Mystic | Lostlight | The Ivory Citadel | F1 eastern tower after being swarmed by wraith skulls. On an arc above. |
| Power | The Forge Lands | Charred Pass | On inside of Large broken pipe in front of The Scar front door. |
| Power | The Forge Lands | Charred Pass | In small room with chest through underwater passage. |
| Power | The Forge Lands | The Fjord | Small ruin on northern pass at end of Fjord, above inside door. |
| Power | The Forge Lands | The Lost Temple | 2F, on outward-facing corner of small room |
| Power | The Forge Lands | Weeping Crag | B3, Gorewood's chamber, high on rock E side of room. |
| Power | The Kingdom of the Dead | Lair of the Deposed King | At the bottom of the spiral staircase, above the Vault door |
| Power | The Kingdom of the Dead | The Maw | At the bridge intersection in the Maw, go west. Continue as far west as you can, curving north and dropping down into a ruin. Go into the ruin, look at the portal on the west wall, and from there look up and left. |
| Power | The Kingdom of the Dead | The Gilded Arena | After getting the first Stone, you will exit east through a narrow passage. The stone is being clasped by a skeleton hanging from a grate in the ceiling. |
| Power | The Kingdom of the Dead | Phariseer's Tomb | On the face of the tall statue on the 3rd floor. |
| Power | The Kingdom of the Dead | The Spine | On the east outer wall of the gatehouse between the Maw and the Spine. Climb the gatehouse exterior and look around next to the chest. |
| Power | The Kingdom of the Dead | The Spine | Top of tower to the east of Judicator's Tomb |
| Power | The Kingdom of the Dead | Judicator's Tomb | 3rd large room from enterance. On the bottom of hanging cage. |
| Power | The Kingdom of the Dead | Sentinel's Gaze | On the back of the head of statue on top of center building. |
| Power | The Kingdom of the Dead | The City of the Dead | In the area with a chest and two Wraiths. It is visible on the wall to the right of the chest. |
| Power | The Kingdom of the Dead | Soul Arbiter's Maze | Entrance room. |
| Power | Lostlight | The Crystal Spire | Upstairs, on the statue near the bomb |
| Power | Lostlight | Earth | After completing the staff, in the building |
| Power | Lostlight | Earth | F1 in the tunnels on the wall above the chest in the southern most area |
| Power | Lostlight | The Ivory Citadel | 2nd floor in the northern area. At the second crank, look across to a rock face. |
| Power | Lostlight | The Ivory Citadel | large statue in center water room, in chest, get from 3rd floor |
| Power | Shadow's Edge | The Black Stone (past) | opposite keyed door |
| Power | Shadow's Edge | The Black Stone (present) | On the left of the keyed door in the western area |
| Power | Shadow's Edge | The Black Stone (past) | On the stomach of the many armed statue (Lilith) at end of main room |
| Power | Shadow's Edge | Death Tomb | Above the exit. |
| Power | Shadow's Edge | Death Tomb | Ceiling. |
| Resistance | The Forge Lands | The Foundry | 1F, First room, on moving bucket. |
| Resistance | The Forge Lands | The Fjord | Near Vulgrim, requires Voidwalker. |
| Resistance | The Kingdom of the Dead | The Breach | On the 2nd floor, on the rock face north of the chest. Requires the player to turn the lantern statue atop the building opposite the entrance to Sentinel's Gaze. |
| Resistance | The Kingdom of the Dead | The Eternal Throne | On pillar to the right of Serpent Tome. |
| Resistance | The Kingdom of the Dead | Leviathan's Gorge | under main bridge |
| Resistance | The Kingdom of the Dead | The City of the Dead | After time rush climb,on 3F, exit the room, There are flying creatures in the sky. The stone is in the window of a tilted tower. on the right |
| Resistance | Lostlight | Earth | Before falling into pit for first Noss encounter, look to right and it's on the wall |
| Resistance | Lostlight | The Ivory Citadel | Western Tower inside, 3rd Floor on the northern side |
| Resistance | Lostlight | The Ivory Citadel | In the central area, only accessible when casting a portal in the ceiling. In a tiny room with a chest. |
| Resistance | Shadow's Edge | The Black Stone (past) | In the room before the one where you can find the Demonflame Renders, on the ceiling |
Rewards[]
The stones are returned to Blackroot in sets of three. The combination of the stones will define the reward you will receive. The order in which the stones are given is irrelevant and the combinations are as follows:
| Stone 1 | Stone 2 | Stone 3 | Reward |
|---|---|---|---|
| Mystic | Mystic | Mystic | Arcane +5 |
| Mystic | Mystic | Power | Arcane Critical Chance +2% |
| Mystic | Mystic | Resistance | Arcane Critical Damage +10% |
| Mystic | Power | Power | Critical Chance +2% |
| Mystic | Power | Resistance | Health +30 |
| Mystic | Resistance | Resistance | Wrath +20 |
| Power | Power | Power | Strength +5 |
| Power | Power | Resistance | Critical Damage +10% |
| Power | Resistance | Resistance | Defense +20 |
| Resistance | Resistance | Resistance | Resistance +20 |